


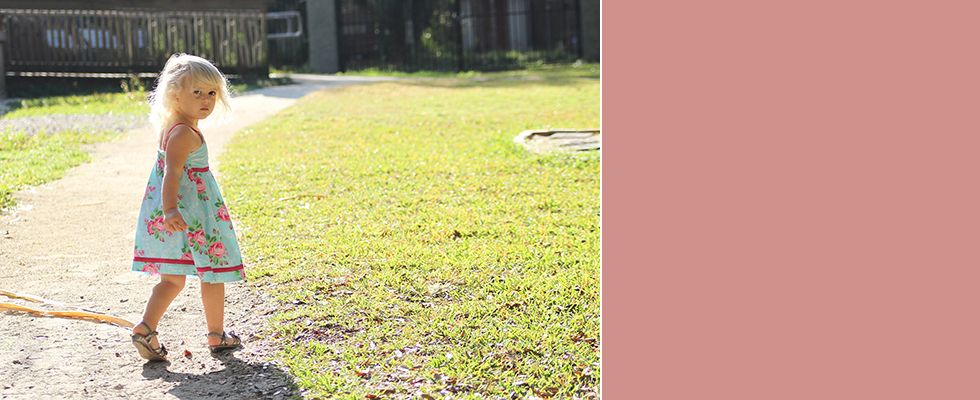
Original-
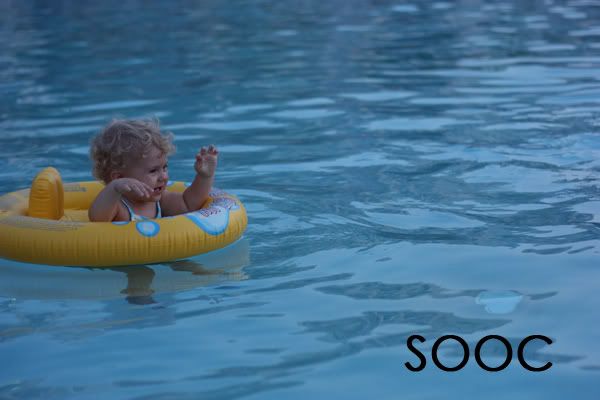
Obviously it's under exposed and her skin is blue. I opened it CS5 and used the levels. With levels I added some fill light to brighten it and then I went into the blue levels and took them down from 1.00 to 0.96 and then went to the red levels and took that from 1.00 to 1.02. Cropped, a small saturation lift (10% opacity), resized and sharpened at 20% opacity via unsharp mask.
Edit-

Can't wait to see your edits this week!


Obviously it's under exposed and her skin is blue. I opened it CS5 and used the levels. With levels I added some fill light to brighten it and then I went into the blue levels and took them down from 1.00 to 0.96 and then went to the red levels and took that from 1.00 to 1.02. Cropped, a small saturation lift (10% opacity), resized and sharpened at 20% opacity via unsharp mask.
Edit-
Can't wait to see your edits this week!
Beautiful shot! I love how you edited this. Its so difficult to edit water, at least I find it difficult!
ReplyDeletewww.bluebirdkisses.com
I love how you brightened it up - and I love the negative space.
ReplyDeletevery nice recovery of the underexposed photo! looks great!
ReplyDeletethe edit really brightens up the picture! great job~!
ReplyDeleteAwesome edit. Looks great.
ReplyDeleteAww.. so sweet. The brightening and the sharpening really look great in the edit!
ReplyDeleteSo sweet! Great edits!
ReplyDeletePerfect clean edit!
ReplyDeleteBeautiful! :) great job :)
ReplyDeleteGorgeous edit and lovely moment captured! The edited photo has great coloring and amazing lighting. Thank you for sharing!
ReplyDelete